I'm still working on living to a hundred and one, and I'm sure the lottery is coming for me soon. Until then, I have taken my fate into my own hands and have been making my own clothing tags! They are a bit time consuming but when faced with the cost and steep numbers associated with ordering personalized tags, I figured I know somebody who is really good at making stuff who also seems to have excess amounts of time on their hands… ME!
Ok, so they take longer than most people care to devote but lets face it, this project is not for most people. The important thing is that my tags can have pictures or logos, lots of colours, you could even put your grouchy face on it! All for the low price of an entire afternoon of your life that you will never get back and about $25.
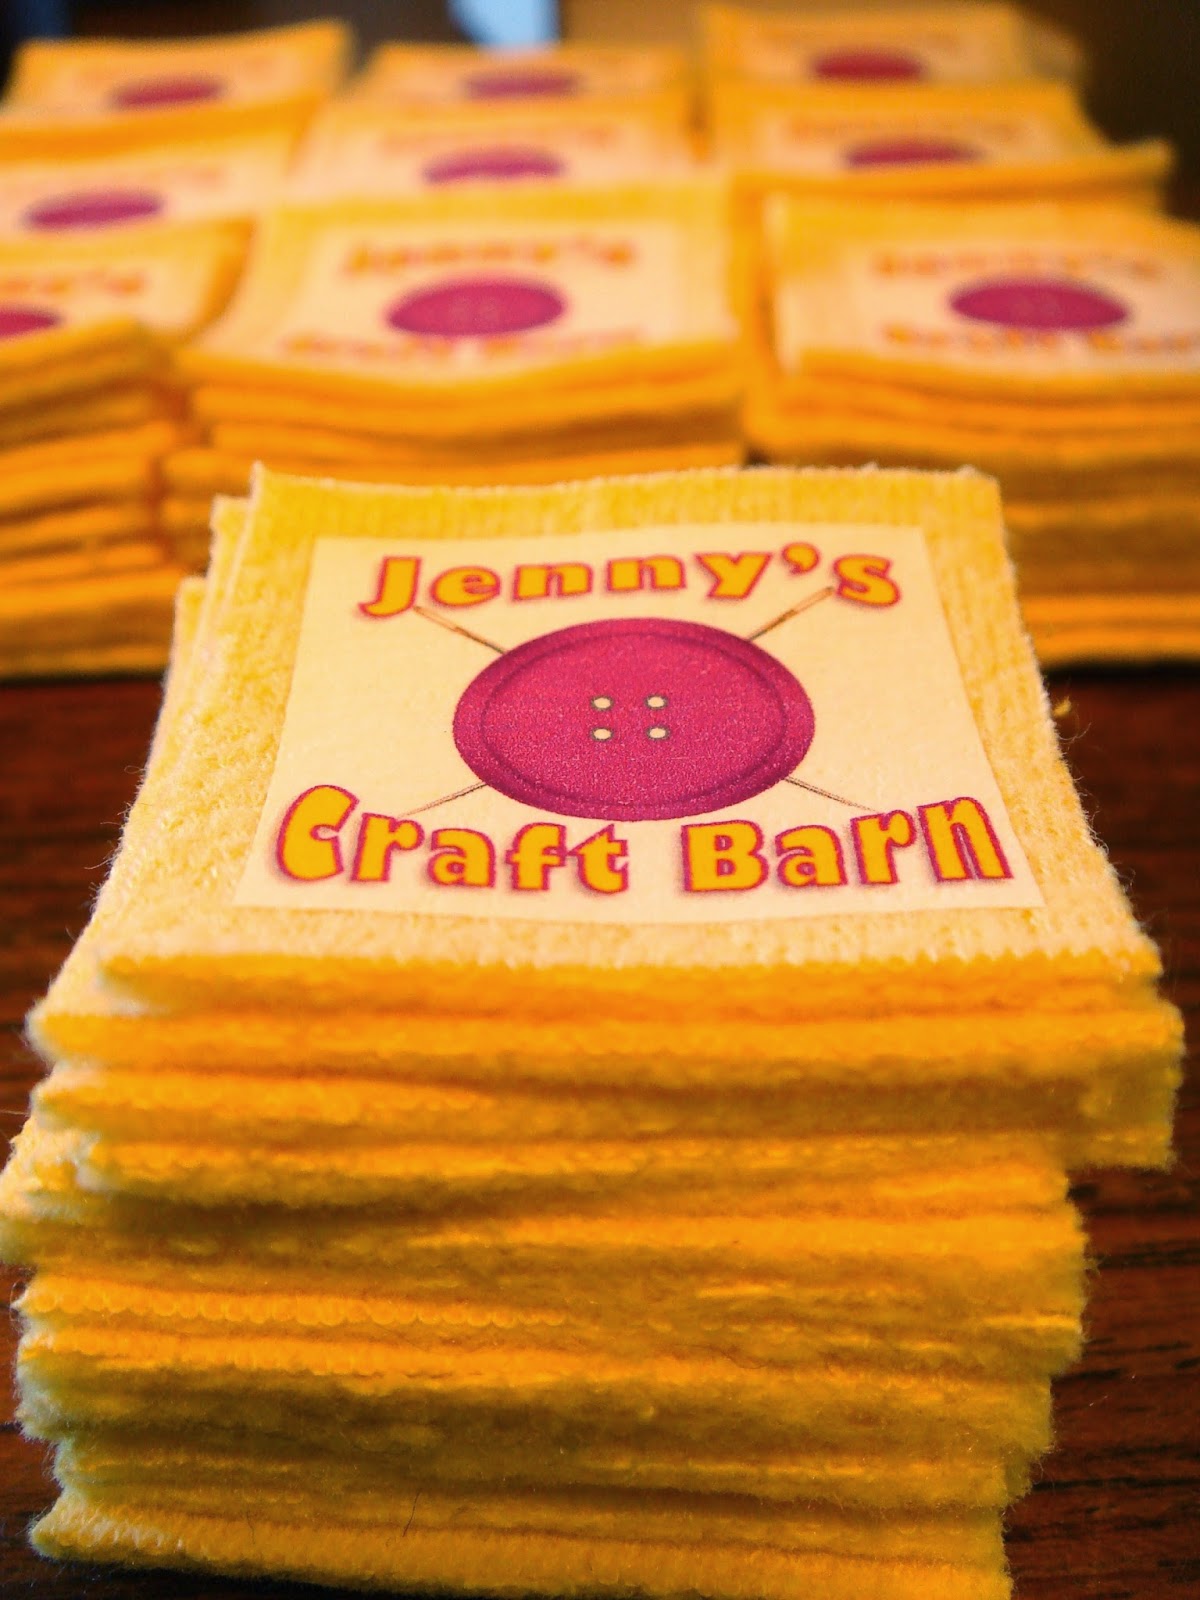
So I started with a PDF of my logo and in the 'Layout' tab is where I turn on the 'gridlines' as well as 'snap objects to grid' option. (This is so my logos are evenly spaced in rows so I can cut them with a rotary cutter or paper trimmer.) Then I use Avery Dennison brand iron-on sheets ($17 at Staples) for Dark Fabrics even though I use a light fabric. Dark Fabric ones are so much better because you do not have to flip the image, the colours are much bolder and the edges of the image are crisp. Also, this brand washes and wears really well even through the dryer.


Best Pinterest tip ever: anywhere a cat is bothering you, I mean helping you, put down a cardboard box! He just cannot resist it, it's even better than rubbing his face on my face apparently.
Once they are cut, they could be ironed-on to the project as is. I prefer to put them on a soft pre-washed fabric, then cut them out again only to sew them on by hand. I just have a thing for making crafts more mingled (complicated).


This system of two rows also allows ones to cool while you work on the next. If you peel the paper off while hot it smudges all ugly like. Then they get yet another trim to square them up.
And here they are all sewn on! How nice.
